Platform Integrations
Edgemesh® provides installation instructions for various platforms such as Cloudflare, Fastly, Hubspot, Magento, Salesforce Commerce Cloud, Shopify, and WordPress. If you don't see your platform here, and you are not able to perform a generic installation please contact Edgemesh® Support.
Cloudflare
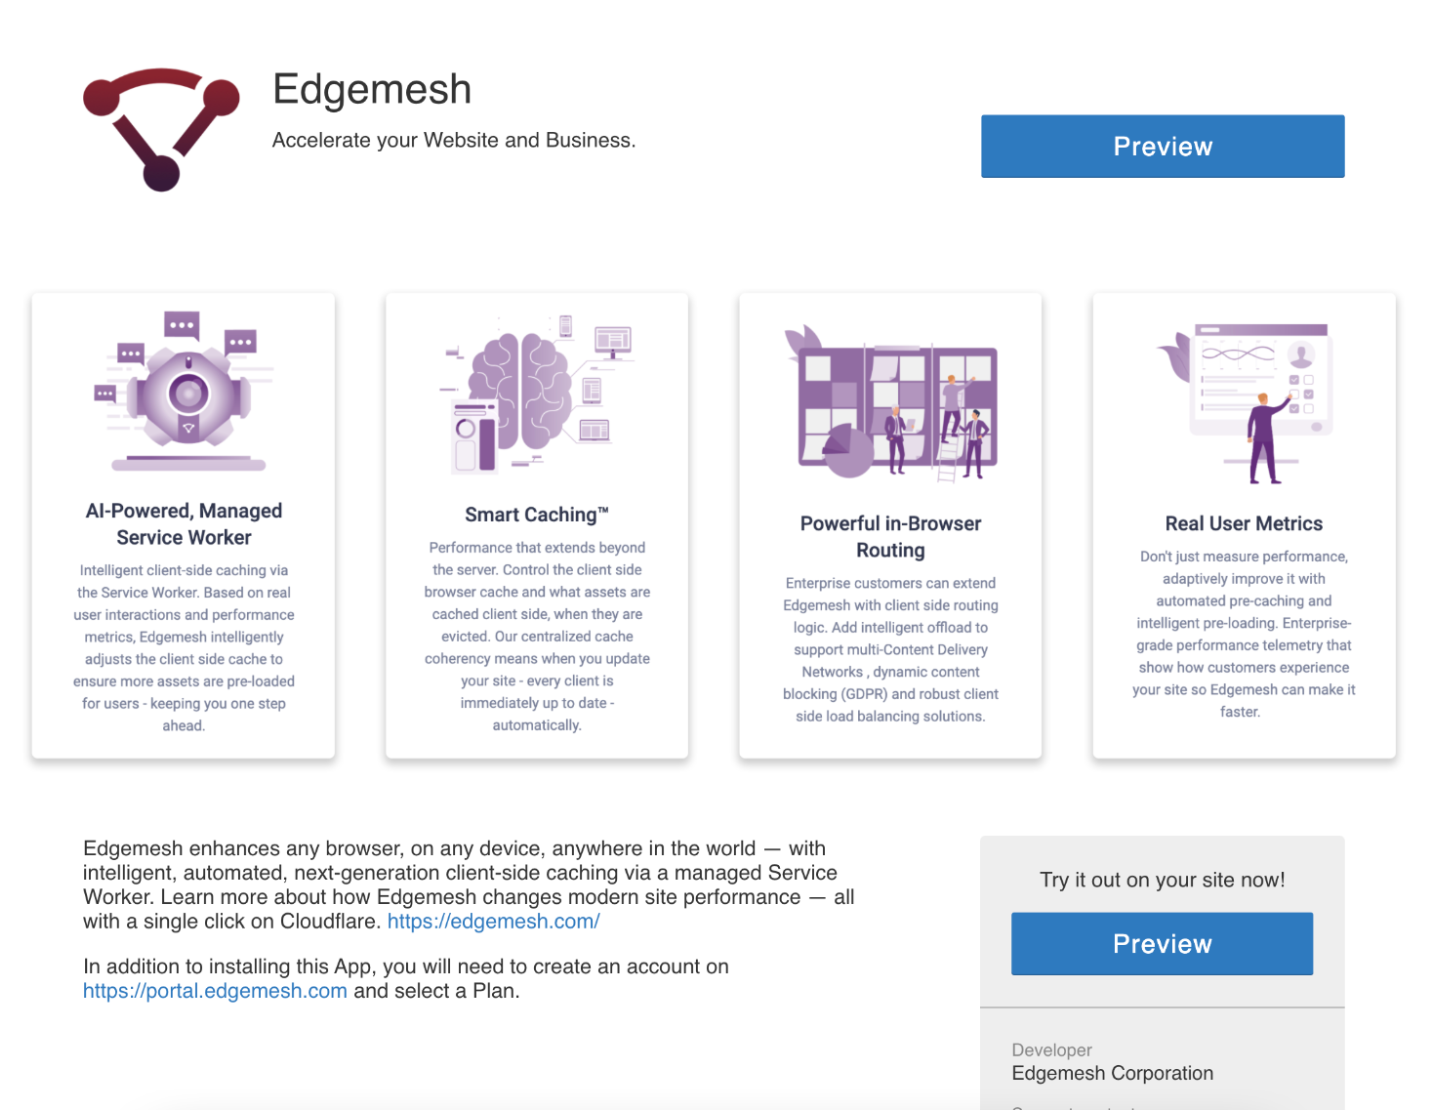
If you are an existing Cloudflare customer, the Edgemesh® for Cloudflare App provides a one-click method to enable Edgemesh® Client. The Edgemesh® App is available on the Cloudflare App Store.
The Edgemesh® Client app requires Cloudflare Workers to be enabled on your account and for the website to be proxied (Orange Cloud) via Cloudflare. The Edgemesh® App creates a Worker under the covers that will listen on the
/sw.jspath and uses the App system to inject the Edgemesh® Client on your website.

Once the app is installed on your Cloudflare-enabled site you can validate the installation via the Edgemesh Portal.
Fastly
The Edgemesh® Client can be enabled using Fastly Compute at Edge (C@E). Similar to the Cloudflare installation, the Fastly C@E worker ensures that the /sw.js route returns the Edgemesh® Service Worker. Aside from the C@E worker code, you will need to add the Edgemesh® client to the <head> of your website:
Add the Client
Create the Worker Next up, just create a Compute at Edge service to serve the Edgemesh® Service Worker:
Hubspot
Installing Edgemesh® Client on the Hubspot platform is a simple three-step process.
Create the Service Worker
To add the service worker file, and allow this file to be served on the site's root - begin by creating a file called sw.js which contains the following line of javascript:
Create Proxy
We will then upload this to Hubspot via the file manager and add a redirect:
- Upload the sw.js file to the file manager.
- Go to
Settings > Domains & URLs > Url Redirects. - Click the Add URL Redirect button.
- Redirect Type: Standard.
- Original Url: The file manager URL where the new sw.js file was created, such as
/hubfs/sw.js. - Redirect to: The internet-facing path e.g. https://hubspotsite.com/sw.js.
- Click More Options.
- Redirect style: Proxy.
- Select
Ignore trailing slashand `Ignore protocol``. - Click Add URL Redirect.
Add the Client
The first step is to add the Edgemesh® Client to the site. This is outlined in the following Hubspot document.
Per this support document, in the "Include your JavaScript file on your HubSpot pages" section, please enter the following code:
You can now complete your installation by verifying your domain on the Edgemesh® Portal.
Magento
The process to install the Edgemesh® Service Worker is the same for both Magento 1 and Magento 2.
First, you will need to create a file on the root of your web server. The root is usually www/html but if your root is different you can find it quickly by locating the main index.php of your Magento installation.
Once you find the root directory, create a file called sw.js and add the following code:
Installing the Client will be specific to each version.
Magento 1.X
We will be creating a custom module for Edgemesh® so It can easily be enabled and disabled from System > Configuration > Advanced.
All the file names and content below are case-sensitive. Please copy them exactly.
First, let's create the Edgemesh® Client Loader.
Then create a module config:
Finally, let's tell Magento about our module:
Now you can refresh your caches by going to System > Cache Management, selecting Configuration and Layouts, selecting Refresh from the action drop-down, and clicking the Submit button.
You can now complete your installation by verifying your domain on the Edgemesh® Portal.
Magento 2.X
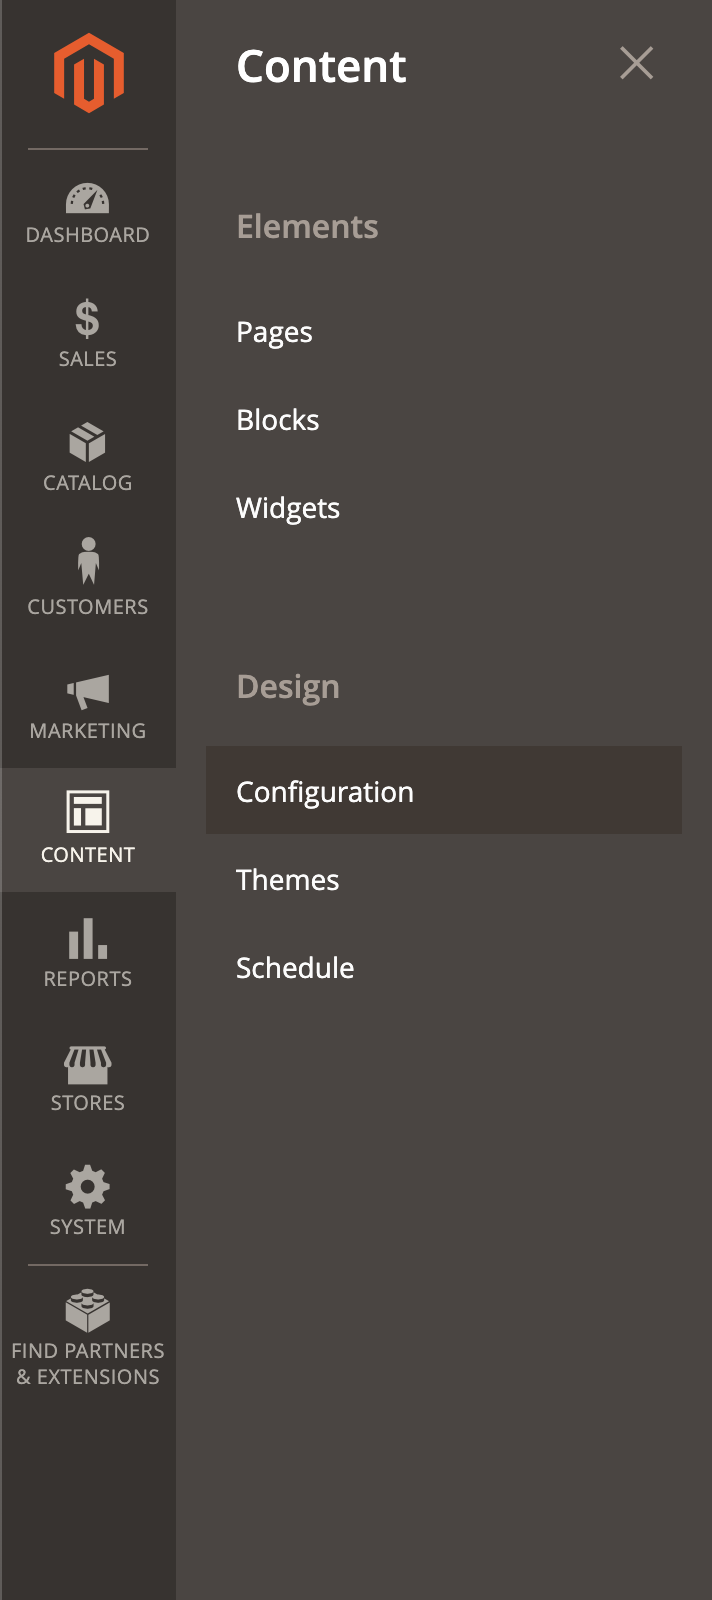
Navigate to your admin area and go to Content > Configuration:

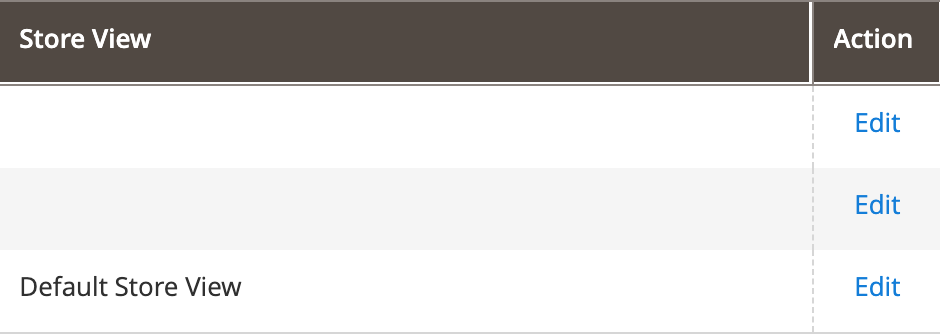
Click edit on your active store view:

Scroll down to Other Options > HTML Head and find the Scripts and Style Sheets input. Add the following code to the input:
If there are other scripts or style sheets in the input, be sure to add the Edgemesh® Client code on a new line.
It should look something like this:

Click Save Configuration on the top right.
You can now complete your installation by verifying your domain on the Edgemesh Portal.
Salesforce Commerce Cloud
Installing Edgemesh® Client on Salesforce Commerce Cloud is a simple, three-step process.
Create the Service Worker
The first step is to create the Service Worker file as an SFCC object with the type Content Asset called Edgemesh-Service-Worker or similar. Add the Edgemesh® Service Worker import to the body of this object.
Create Proxy
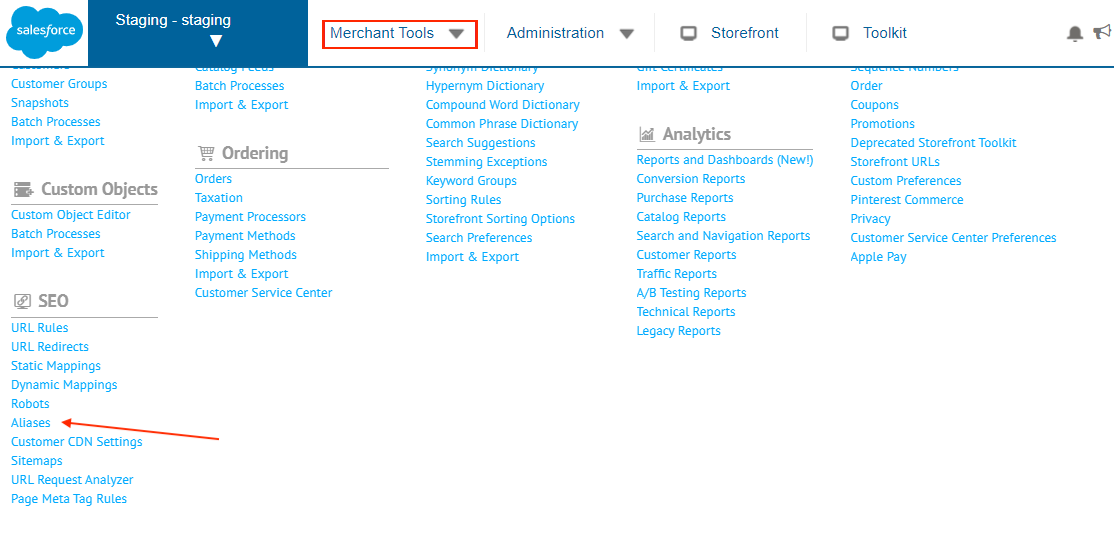
Next, we will create a proxy (called an Alias in SFCC context) for our Service Worker. Create an entry in Business Manager > Merchant Tools > SEO > Aliases.

This entry must route /sw.js to the Content Asset created in Step 1 (Edgemesh-Service-Worker).
Confirm that the worker file is now available at the root, for example: https://mysite.com/sw.js.
Once the Service Worker is added, you can complete the integration by adding the Edgemesh® Client code to the head of the website (similar to any other script element).
You can now complete your installation by verifying your domain on the Edgemesh Portal.
Shopify
Since Shopify has stopped allowing ad-hoc app installations, the Edgemesh Shopify App has been deprecated while we work on integrating with Shopify's billing system. If you have the Edgemesh® Client Shopify App installed, it will continue to function normally. Only new installations are affected. In the meantime, you can install Edgemesh® in lite mode by following the steps below. With Edgemesh® in lite mode, you can take advantage of the Real User Metrics and Script Loader, but the Caching engine will be disabled. If you have a high-traffic site, consider becoming an Edgemesh® Server customer to enable the caching engine and much more. See the Edgemesh® Server offering here and contact sales to get started today!
To install Edgemesh® Client on Shopify, just add the following script to the head tag in your theme.liquid:
Wordpress
The Edgemesh® WordPress plugin requires at least WordPress version 3.0.1. You can install the plugin directly from your wp-admin by searching for edgemesh or by going to its plugin page directly. You can also download the plugin zip for ad-hoc installation.
You can also install ad-hoc by following the steps below:
- Download the latest release above.
- In your WordPress dashboard, choose Plugins > Add new.
- Click Upload Plugin at the top of the page.
- Click Choose File, locate the
edgemesh-wordpress-plugin.zipfile, then click Install Now. - Activate the plugin.
The WordPress-specific configuration options are available to set at Settings > Edgemesh.
You can now complete your installation by verifying your domain on the Edgemesh Portal.
If you are using
wp-rocket, you will need to go to Settings > Edgemesh and turn off async to exclude Edgemesh® fromwp-rocketoptimizations.